How to record a video from Mac’s screen? Many know that QuickTime is capable of recording a simple clip. What if you need a professional video? In this case you should take note of Screenflow.
Screenflow is a more powerful screencast making tool for Mac than QT. Unlike QuickTime, while recording a screencast it does overload your processor. Main features of Screenflow are:
- audio recording from mic and audio card;
- recording video from iOS device;
- editing video after it has been captured;
- combining several videos into a single clip.
And using it, as opposed to many other video editors, is really easy. Now lets see how it works.
Screen Recording
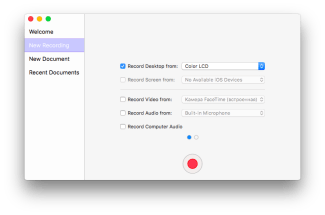
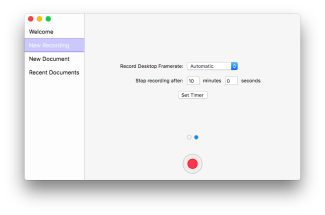
After you run Screenflow it immediately suggests to record a new video. At the same time it gives you options to select a screen from which video will be recorded (good if you use two screens). You can record a screencast of iOS device as well. Moreover, you can record a screencast video from your webcam and audio from built-in mic or audio card. Start screen also has a second page where you can adjust video quality and framerate after pressing “Record” button.
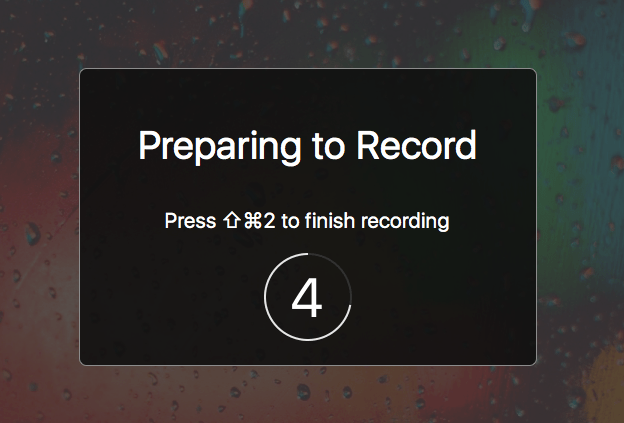
Pressing “Record” button starts the timer. You can finish recording by pressing Shift+CMD+2 or video cam icon in system menu.
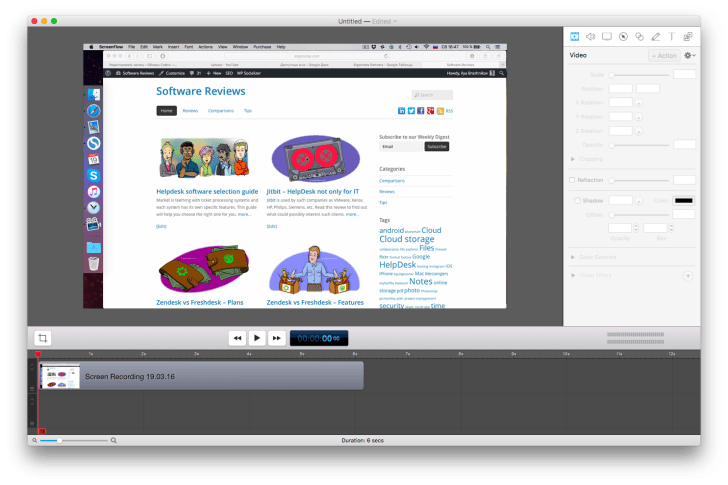
Draft screencast opens in editing window where you can edit your video. The window is divided into dashboard, video viewing and scaling area and Time Line.
Video Editing
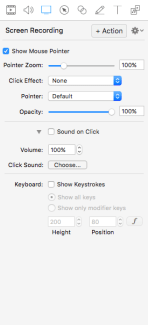
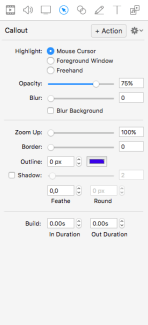
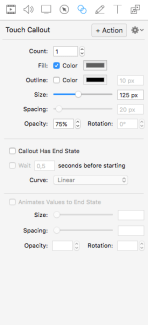
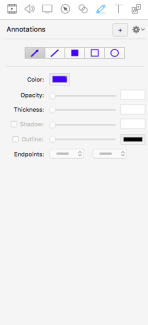
As seen in the screenshot above, editing window of Screenflow has a dashboard on the right. It consists of eight tabs:
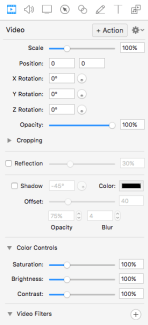
Video – video edit parameters: scale, position, rotation, opacity, reflection, color controls, etc.
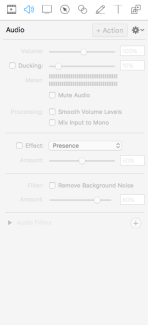
Audio – audio track settings.
Screen Recording – show/hide mouse pointer, pointer zoom as well as display of keystrokes.
Callout – with this tool you can emphasize the cursor, highlight mouse cursor, window or select custom shadow area.
Touch Callout – display screen touches, designed for screencasts from iOS devices.
Annotations – insert graphic elements into video: lines, arrows, rectangles, etc.
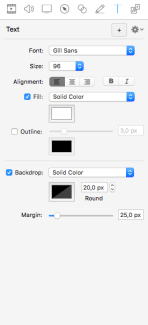
Text – insert text into video.
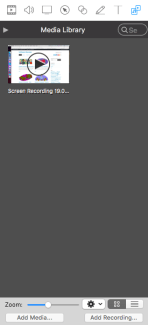
Media Library – allows to add other video and audio files into the project as well as start another screen recording.
Annotations and Text tabs contain an ‘add’ button by pressing which you can set up text duration or insert time in Time Line.
All tabs except Annotations, Text and Media Library feature Action button. By pressing Action button you can change a specific episode but not the entire video. I recorded a small screencast that shows this button in action.
First, how did I do it:
And the result:
On top of dashboard you can use menu to:
- add transitions in the start and end of episode;
- add freeze frame into video if you need time to explain something to the audience;
- separate audio track from video to replace it with another one;
- add markers into Time Line;
- crop video.
Video Export
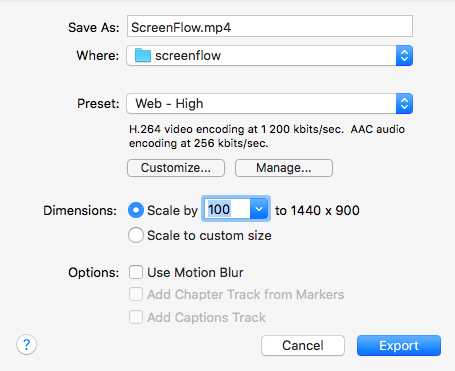
Once you’ve finished editing you can export video in MP4, MOV, and M4V formats for iPhone. You can also change its dimensions and bitrate. Unregistered version of Screenflow inserts “Demo” into exported files. Apart from saving the file you can upload video to YouTube, Vimeo or cloud storage.
Bottom line
Screenflow perfectly tackles screencast recording and editing tasks. Its videos look professional. I really liked how video editing is implemented, it is intuitive and there’s no need to read manuals. The only thing left is to learn how to make screencasts correctly.

It is pretty well for recording but it only supports recording the full screen. I prefer to use it for editing and take another web-based application named as ShowMore (http://showmore.com/) to record a HD video, also a feasible choice.