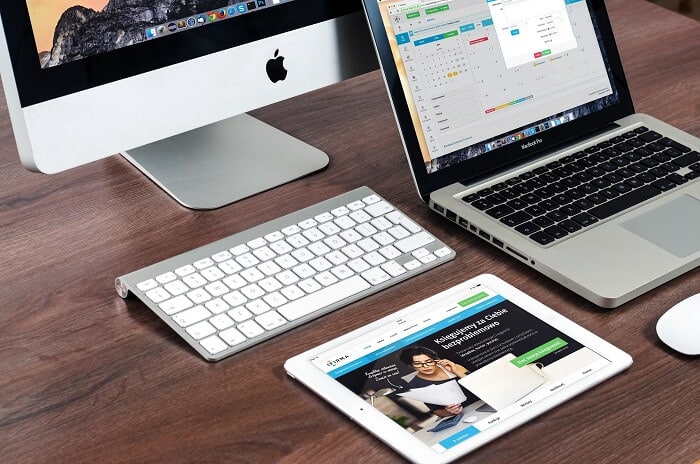
When you start using a Macbook for the first time, you might be a bit surprised by how different it is when compared to other computers. It will take time to get adjusted, but some things you may want to learn faster than others.
Taking screenshots is a good example. The process becomes quite simple once you get used to it, but it is still more than just pressing the “Print Screen” button on a keyboard you would find on a personal computer or another laptop.
So what are some things that new users need to know about screenshots when using a Macbook? Well, the tips below ought to be more than enough as learning material.
Tip #1 – Capturing the Whole Screen
Macbooks have a few different keyboard shortcuts when it comes to taking screenshots. Learning the shortcuts fixes any issues you might have had before.
In most cases, capturing the entire screen is more than enough, even if you only want to showcase a particular part of it. And it could be that this is the option you are most used to.
The shortcut for this one is Command + Shift + 3. It will take a screenshot and save it on the desktop if you are using the default settings. The picture should be in the PNG format, and you are free to send it or use it however you want. Keep in mind that you can also add the Control key and pick the location of where you want to paste the screenshot.
Tip #2 – Capturing Part of the Screen

Efficiency is important. Getting into the habit of capturing only a particular part of the screen could be something quite useful, especially in the long run. There are also some instances when you cannot screenshot the whole screen due to personal reasons, and using editing software for one screenshot does not sound like a lot of fun.
Command + Shift + 4 will create a crosshair out of your cursor and let you select what you want to screenshot. Holding down the Option key allows resizing the selection proportionally, which might come in handy in some cases. And if you want to cancel the whole thing, simply click the Escape button, and you can start again.
As usual, when you are happy with what you have selected, release the mouse key, and the screenshot will be saved on the computer.
Tip #3 – Using an Application
It depends on the OS you are running, but a Macbook should have an application for taking screenshots. It will be called Grab or Screenshot. The app can be launched usually, or you can also open it up using Command + Shift + 5.
The approach is different from using keyboard shortcuts. Launch the application, and you will see all the available buttons, such as the ones for taking the entire screen, selected window, or selected portion.
You ought to have time to test things and determine which method you prefer personally. Some users have embraced the app, especially when there are new features and improvements introduced with each OS update. On the other hand, those who are too used to keyboard shortcuts also do not think about changing their habits.
Tip #4 – Taking Separate Screenshot of the Touch Bar

While not necessary, knowing that there is an option to take a screenshot of the Touch Bar separately might come into play some time in the future. Of course, Touch Bars are not something that every Macbook model has, but if yours do, simply select Command + Shift + 6, and you will get a picture of nothing but the Touch Bar.
Tip #5 – Configuring Settings
There are settings that you can change and, in doing so, make things more comfortable when taking screenshots.
For example, maybe you want to select another location where screenshots are saved. Launch the Screenshot app, and you can make the adjustments there. There is also an option to change the default name of the screenshots, but that requires tinkering with the Terminal. And that is not something that inexperienced users should do.
Tip #6 – Fixing Screenshot Problems

You may find yourself in a situation where the computer does not allow you to take screenshots. The issue is not that common, but if it does happen, do not worry too much as there are multiple solutions to fix the problem.
A simple computer restart might be plenty. If the issue persists, try resetting Mac’s NVRAM. Getting rid of all the system junk that is related to keyboard shortcuts is also known as a solution. However, the process is pretty tricky, and you will need to get a cleanup utility tool for that.
Finally, if everything else fails, you still have one last solution – reinstalling the OS. Even if this one takes time, there is no other option left. On the off chance that reinstalling the OS does not fix a problem, you will have to take it to a service store.

