
ADrive is an online storage and backup service that gives 50GB space for free. Its ad supported basic plan users get some common features only, while a 60-day free trial offers access to all premium benefits.
Recently I’ve used its Personal Premium plan and now I’ll share my experience with the service. But before beginning, I would like to present its pros and cons right away.
Pros
- 50 GB free storage is a nice offering
- Simple and easy to manage
- The dedicated backup feature comes handy to protect stuffs
Cons
- The backup and sync features work on schedule basis, not instantaneous
- Desktop app is only for paid users
- No phone or live chat support
What People Say about ADrive?
I found ADrive users happy with a whooping 50GB of free cloud storage. One user said he signed up to ADrive because he needs a bit more free storage than the other major providers offer. Another user said that he uses ADrive to store photos and videos right from his smartphone. He thinks the 50GB space is a good deal. Premium and Business features like 2GB+ upload limit and drive mapping are also seemed to be useful. However, basic (free) users have no access to ADrive desktop app. They really don’t enjoy this strategy of the company.
Overview
It’s time to enter into details. Since this article contains a quite good number of sections, so I would like to put a table of contents for easy navigation.
[table colwidth=”300|300″]ADrive Web Interface,
Uploading a File,Creating a New Folder
Sharing a File,Editing a Document
Collaboration,Quick Links
Remote Access,Settings[/table]
[table colwidth=”300|300″]ADrive Windows Application,
Backup,Mapping ADrive manually
Sync,Support
The Bottom Line,[/table]
Hands-On With ADrive
ADrive has three plans- Personal Basic, Personal Premium and Business. The Personal Basic package is free which gives 50GB storage and some basic features like file sharing, online editing, remote file transfer etc. Basic plan supports web and mobile apps only. However, the other two (paid) plans- Personal Premium and Business are open to try for a 60 days free trial period. Paid plans start from $2.50/month or $25/year (100GB) which offer web, desktop (Windows, Mac) and mobile (Android, iOS) apps. At first I will tell you the story of ADrive web version. Then we will see the Windows App details.
To use ADrive, you need to create an account there. Visit this link to register.
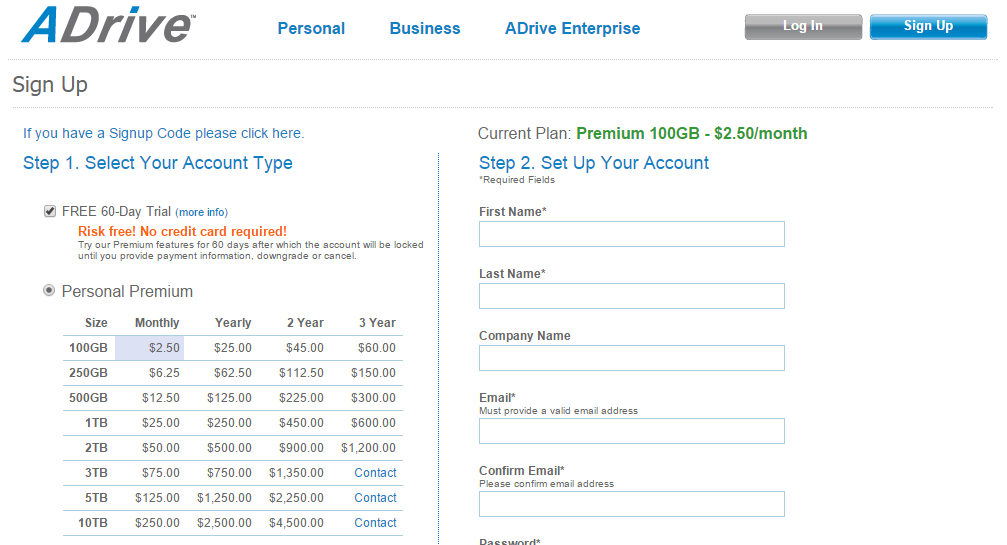
I found Personal Premium plan selected by default. You can open an account on any of the three plans. The premium plans do not require to add a payment method/credit card while registration. So, you get a chance to try any of the paid plans at zero cost. I signed up for a Personal Premium package. ADrive sent me a confirmation email to activate my account.
ADrive Web
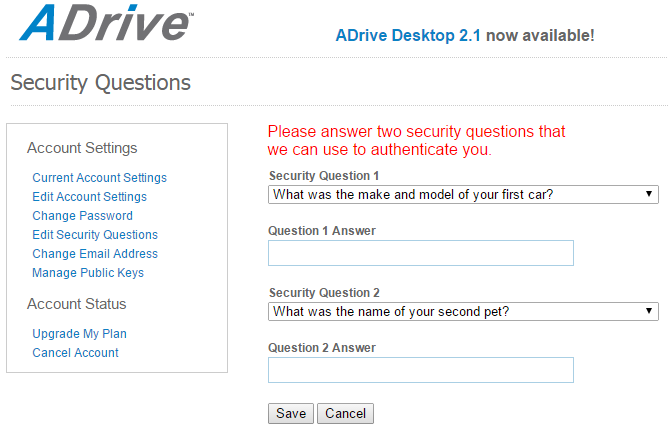
After the activation, I was able to log in. Then the site asked me to set two security questions for future reference.
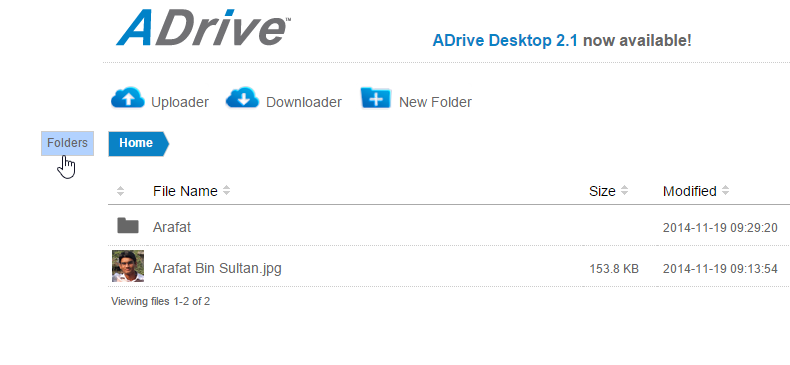
After setting the security questions, I visited my files home. The interface is neat and clean. There are options to upload/download files and make new folder. The currently opened folder’s name is also shown at the left side.
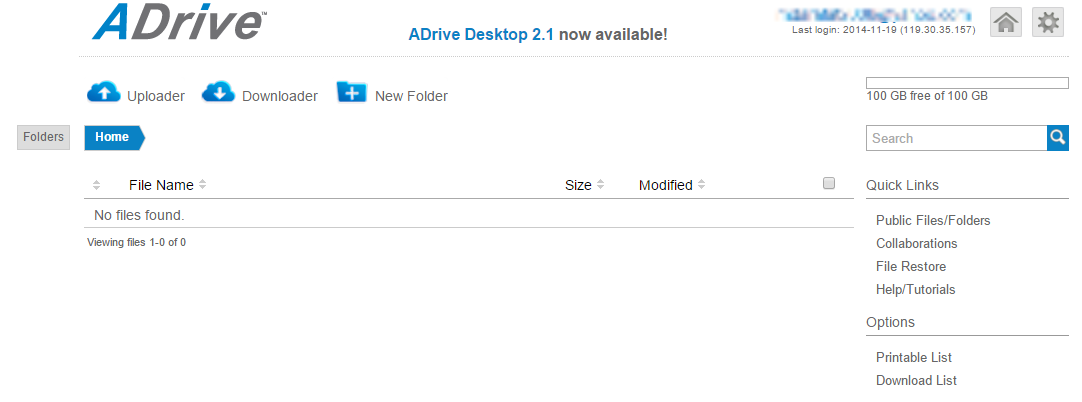
At the right side, the available and used cloud space is shown. A search bar locates under the storage statistics. After that, some quick links to access public files, collaborations and other options are given.
Uploading a File
To upload a file, click the blue ‘Uploader’ button at the left.
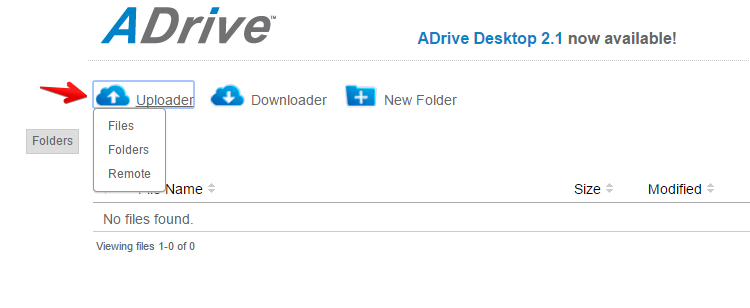
You will get options for uploading a file/older from your computer or from an outside link. To upload a local file, browse your computer, locate a file and click the upload button.
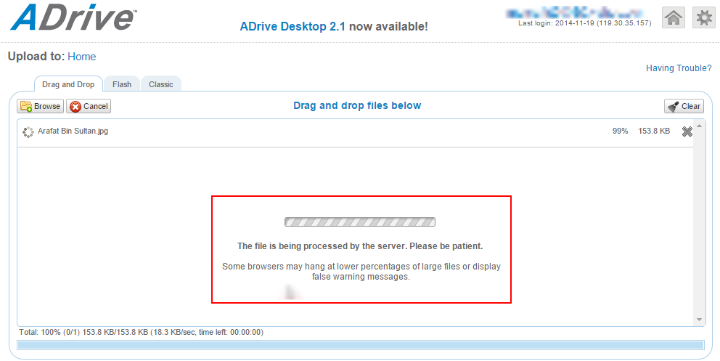
After the upload completes, you will see your refreshed files homepage.
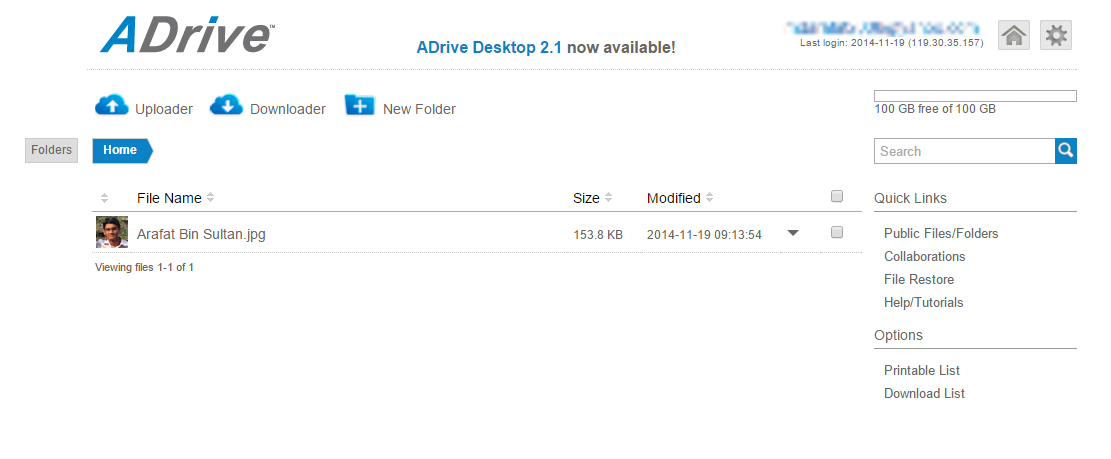
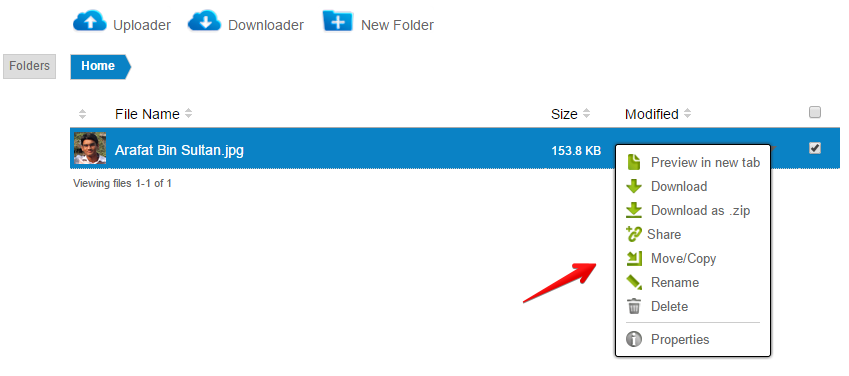
Right click on a file to see the file options.
Creating a New Folder
You will see a button on the upper toolbar to make a new folder. Click on that ‘New Folder’ button.
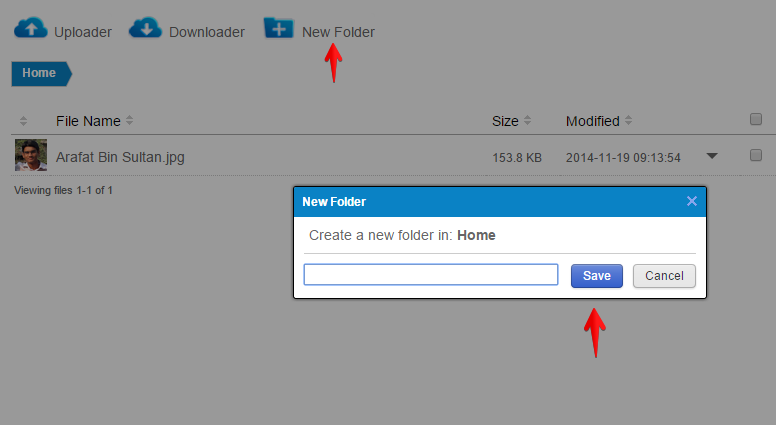
Define a folder name and click ‘Save’. The new folder is made!
There is a ‘Folders’ button at the left of the ‘Home’.
Clicking this button will open a thin column-like box with options to create new folder, browse folders, refresh the file list etc.
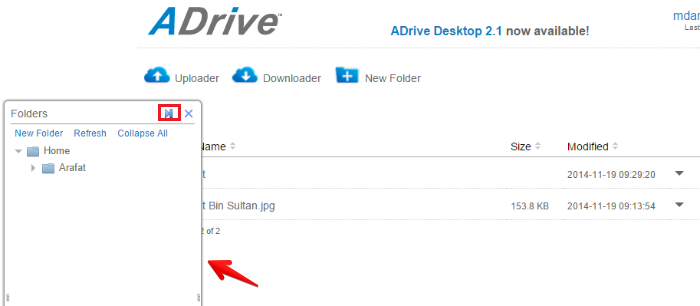
You can move the box from left to right and vice-versa by clicking the ‘Move other side’ button (marked)
Sharing a File
Sharing files with ADrive is easy. At first, right click on the target file (or folder). A context menu will appear.
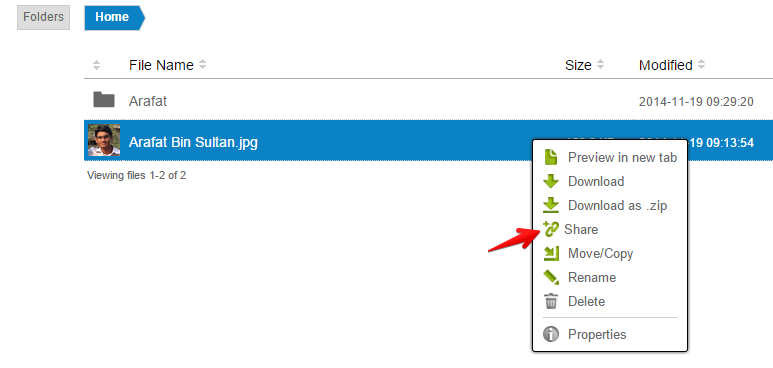
Select the ‘Share’ option.
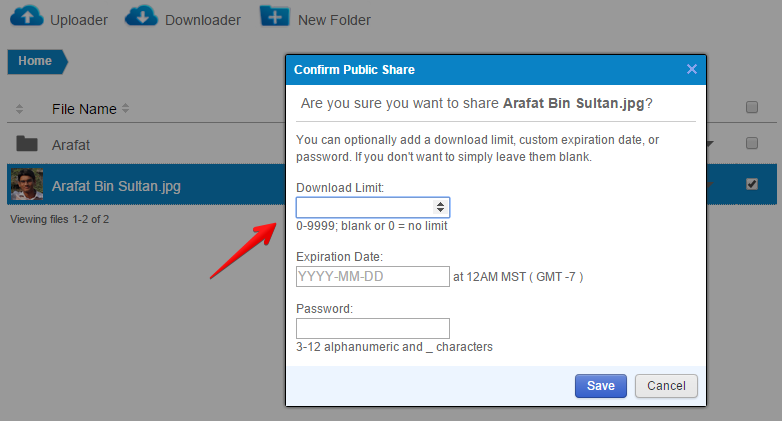
Set the file permission with a certain download limit, expiration date, and password. You can leave these options blank, though.
After successfully sharing a file, you will see a notification at the bottom of the files window. You also can check the file details by right clicking on it and selecting the ‘Properties’ option. Here is how a shared file looks like.

Editing a Document
ADriive offers document editing right on the cloud. You do not need to download it to make changes. Just right click on a document and go to ‘Edit with ZOHO’.
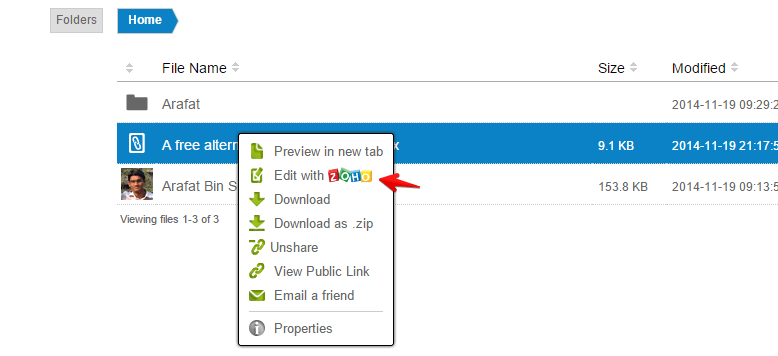
A popup window will be opened to edit the file online. If your browser blocks popups, then you need to disable popup blocker for ADrive at least for a temporary period.

Collaboration
ADrive enables collaboration to power teamwork. Only Premium and Business users can add other Premium and Business users as collaborators. To start teamwork on ADrive, at first you need to add collaborator(s) to a folder that will be shared with others. Select/mark a target folder, an option to add collaborator will appear.
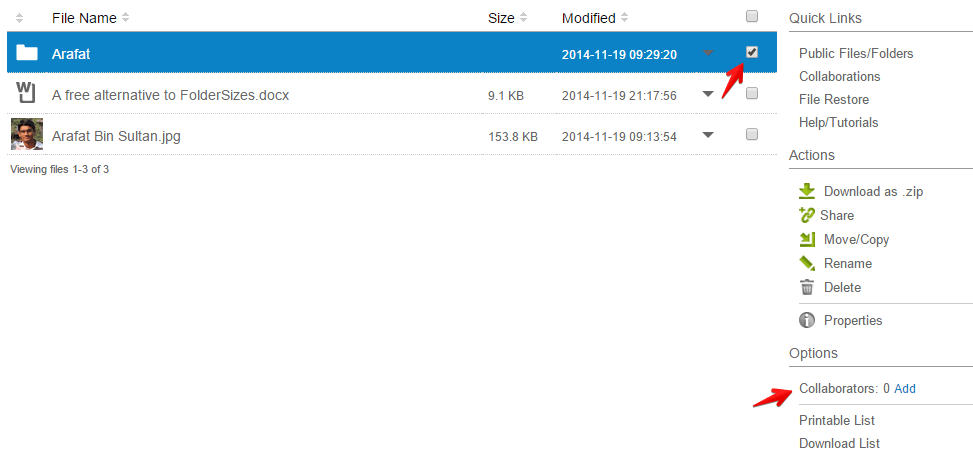
You can add, remove or edit collaborators from this window. A user with full access can upload/download files and folders to the shared place. The Read Only permission allows users to download only.

Quick Links
In web version, you will see a ‘Quick Links’ section at the right side.
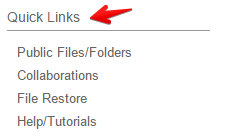
The ‘Public Files/Folders’ views your publicly shared stuffs. ‘Collaborations’ shows the folders that are currently being collaborated by you and your team members.
‘File Restore’ enables you to restore previous versions of files. Finally the ‘Help/How To’ link brings ADrive support and tutorial pages.
Just below the ‘Quick Links’, there is another section called ‘Options’. Here you will find two ways to get the file and folder list- printable form and downloadable CSV document.

The above is a printable list view.
Remote Access
ADrive offers a wider range of access portals which is remarkably huge in the cloud industry. You can utilize FTP, SFTP, Rsync, SCP and WebDav protocols with ADrive.
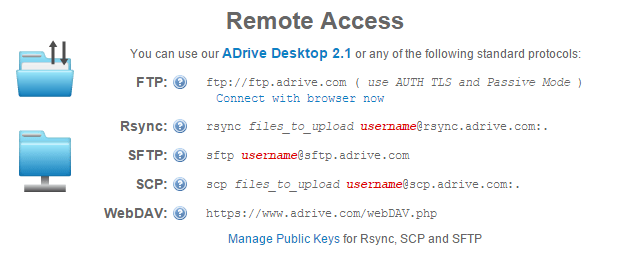
See ADrive’s official documentations to find more information and tutorials about those accessibility options.
Settings
In ADrive web version, there is a gear icon at the top right corner (beside the user’s email address). Clicking that icon opens a settings menu. From there you can enter into the account settings page.
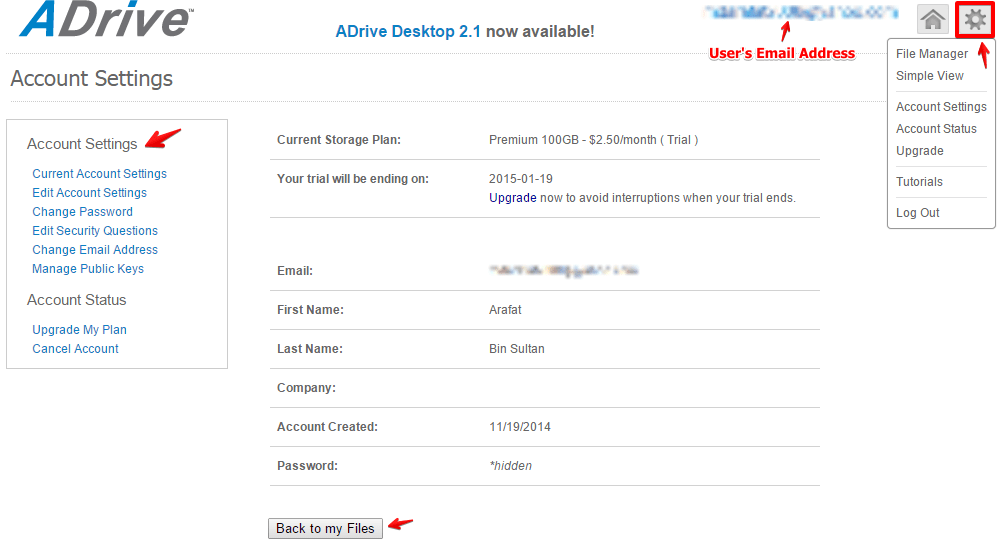
The menu also has an option to open a lighter version (Simple View) of ADrive files dashboard. From the settings interface, you can go to your dashboard (File Manager) by clicking ‘Back to my Files’.
ADrive Windows App
As I have previously mentioned, ADrive Personal Premium and Business customers can access their desktop apps. I downloaded ADrive Windows App from this official link. It’s about 19 MB in size. The app gets installed quickly and opens the log-in window.
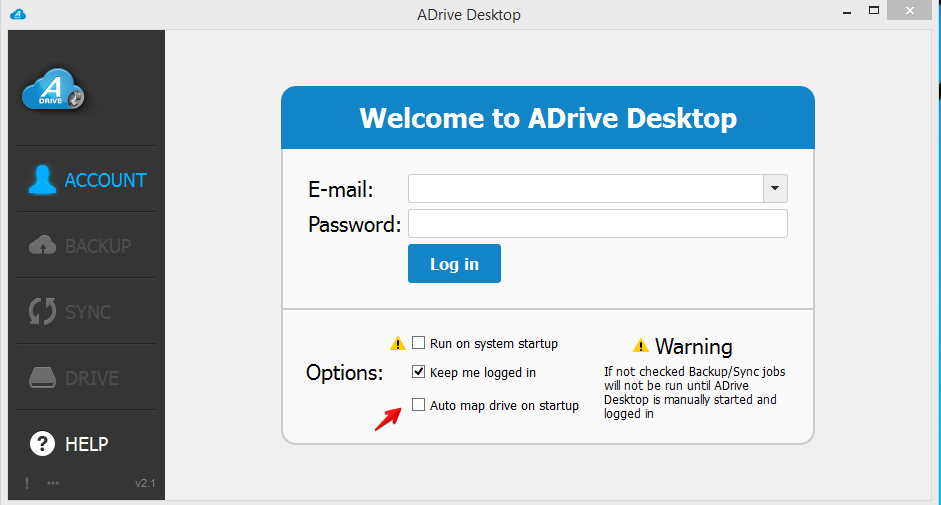
Here are three choices for you before login. You can check the first option to run the app on system startup. The second option asks whether or not to remember login credentials for future login. The third option asks your confirmation about mapping drive automatically on startup. If you check this, the ADrive app will automatically mount a drive in your ‘My Computer’ hard-drive interface. This three choices are provided in ‘Account’ tab of the software.
Mapping ADrive manually
After logging in to the app, you can also manually map ADrive looks like a hard drive partition in your computer. To do it, select the ‘Drive’ tab.
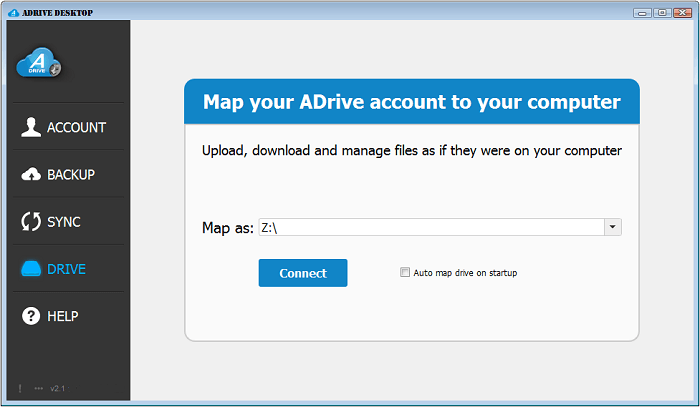
From here, select a drive letter, choose the startup option and finally click the ‘Connect’ button to mount as a drive.
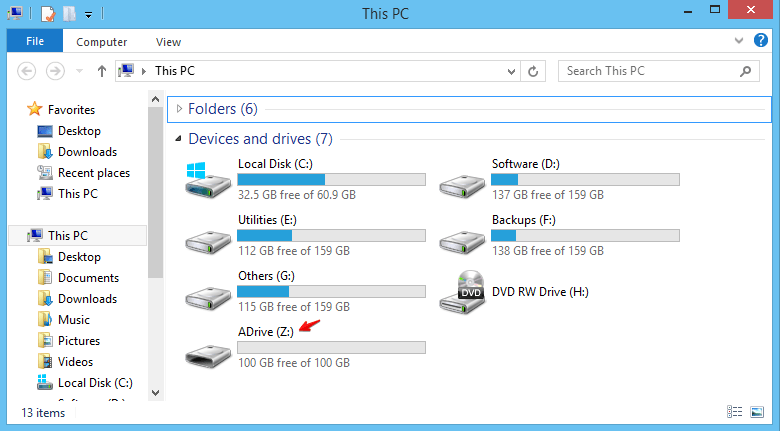
This is how it looks like in your computer’s drive interface.
In this drive, you will see your files and folders stored on ADrive. It synchronizes with your ADrive account. So, if you need to upload a file, just put that into ADrive drive, and it will be uploaded to the cloud itself. The files and folders shown inside the ADrive local drive are actually downloaded when you want to use them. Suppose, previously, you’ve uploaded an image via your ADrive web interface. Now you will see a thumbnail of that image inside the ADrive drive (mapped) in your computer. Here is that thumbnail only. It is not the actual file. If you double click on that image to open, then it file will be downloaded locally and you will be able to work with it.
Backup
With ADrive, you can create backup of your files. Go the ‘Backup’ section from ADrive app and click ‘New Job’. Now select the target folder(s) or files to be backed up.

Then configure the backup interval and save the job. At the bottom left of the backup settings window, there is an option to run the backup just after saving the job. Check that if you need.
Later you can again visit the Backup section on the ADrive app to see your backup status. This is how that looks.
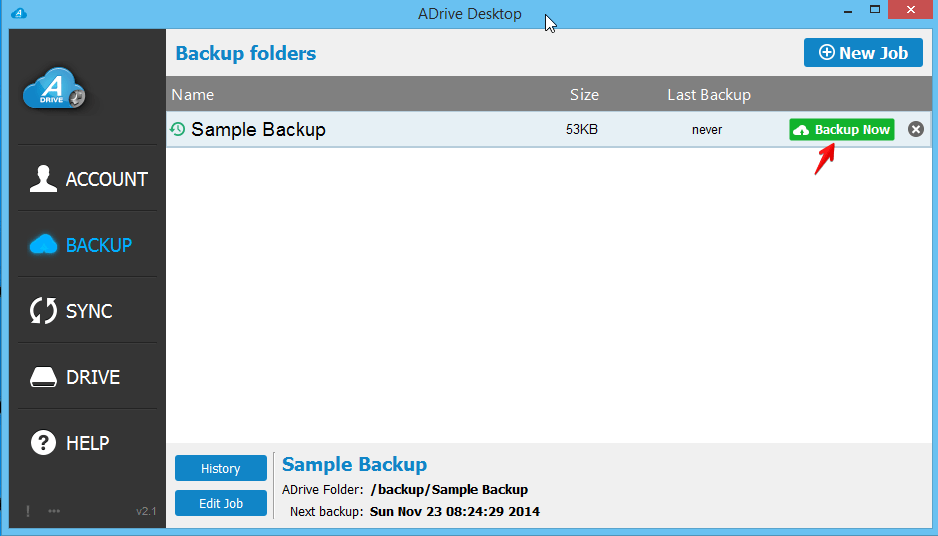
Click ‘Backup Now’ to save a backup of your file from computer to cloud. You also can see your backup history and edit the backup from here. If you add/modify files in the target folder which is being backed up, then the change will be adjusted to the cloud side. But if you remove a content from the local backup folder, the file will not be removed from ADrive cloud.
Sync
ADrive has a Sync feature that keeps your files synchronized between computers and cloud. Just visit the ‘Sync’ section in ADrive client.
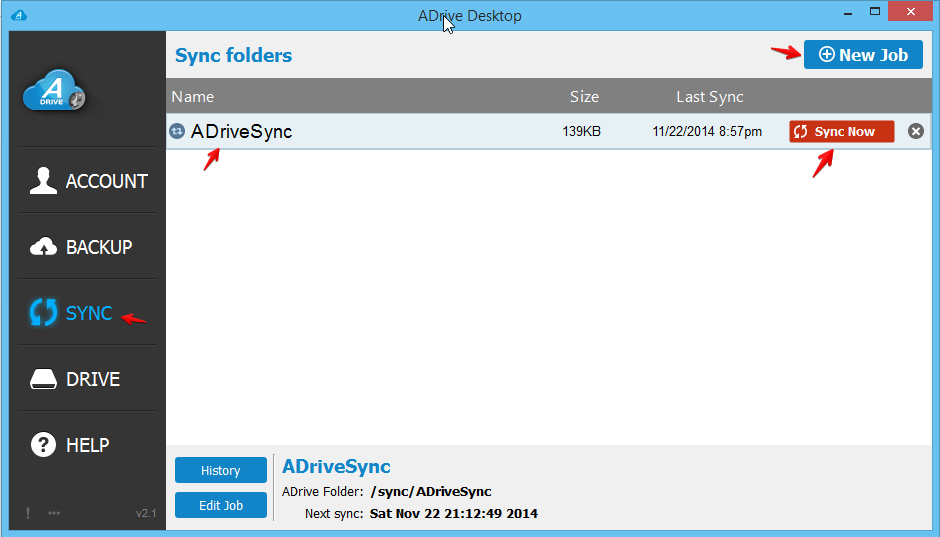
ADrive app creates ‘ADriveSync’ folder automatically when it gets installed at the first time. This item is now shown in the above ‘Sync’ section. With the ‘New Job’ button, you can add new sync folders too.
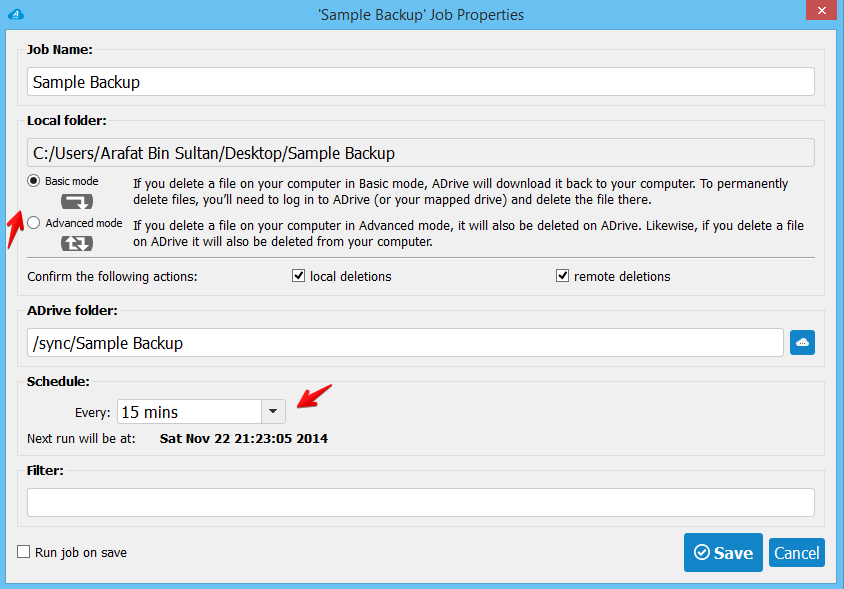
The Sync job has two predefined modes. You can select one to apply on Sync folders. In Basic mode, if you delete a content from your computer, ADrive client will download it back to your computer. So, if you want to delete it permanently, login to your ADrive account (on web or mapped drive) and delete the file from there.
In Advance mode, deleting a file from any location deletes the file from all of the linked locations.
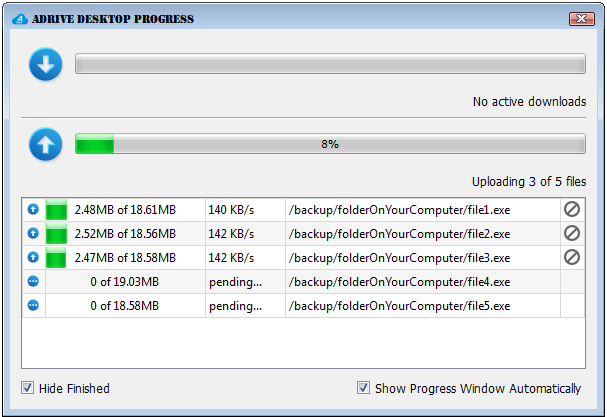
You will see the progress of your jobs. The progress view window may be set to popup automatically and will look like the below example.
There is a ‘!’ mark at the bottom left corner of ADrive PC app. Clicking on that brings error logs.
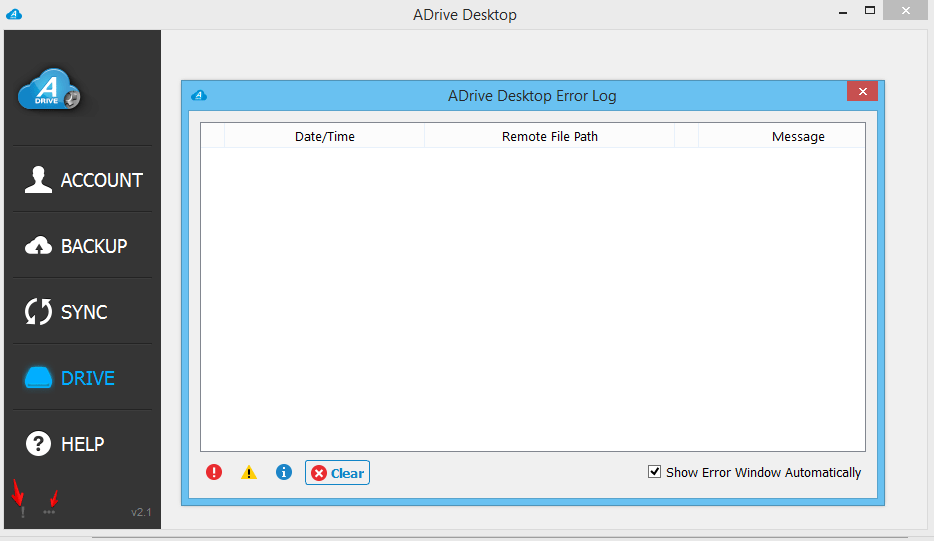
You will also notice a three dot button beside the ‘!’ symbol. That brings the progress window.
Support
ADrive offers email and forum supports. You also can check its FAQ page to find an answer. The email support is only available to paid users. So if you are a basic user, you must navigate to forum to solve an issue.
The Bottom Line
ADrive offers well enough free space and benefits to start with. The 60-day free trial gives a real experience with its premium and business features. If you are okay with scheduled sync (instead of instant sync) then you may like its paid plans which start from $2.5/month for 100GB.
Did you try ADrive? How was your experience? Please share your thoughts with us. Thanks for reading.
They don’t inform you when they take your drive offline.
They don’t notify you when there is issues with confirming your identity.
They don’t respond to requests for help.
They don’t respond to requests for cancellation and compensation.