Cloudfogger encrypts your files and documents to ensure more security and privacy especially on the cloud. It’s free for non-commercial use.
[themify_box style=”rounded warning red” ]Cloudfogger project has been discontinued. Please use boxcryptor instead. [/themify_box]
The Cloudfogger app encrypts stuffs on your local device before uploading to cloud. It integrates with cloud storage providers like Dropbox, Google Drive and OneDrive. To use Cloudfogger, you need their app. Download the software from this official link. Cloudfogger client app is available for Windows PC, Mac, iOS and Android devices. For now, the service has no paid version. The company says, they will introduce premium plan(s) in future.
Sign-Up
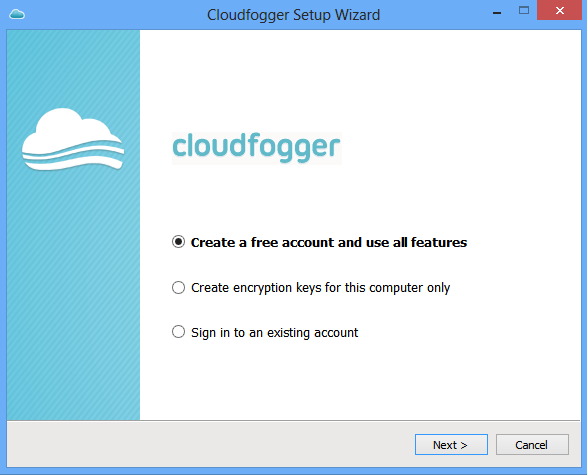
After downloading Cloudfogger, install it and open the initial setup wizard. It lets you to register a new online account, create local offline account and sign in to existing Cloudfogger account.
An online account will enable you use your Cloudfogger account on multiple devices. It will require your name, email address and a new password.
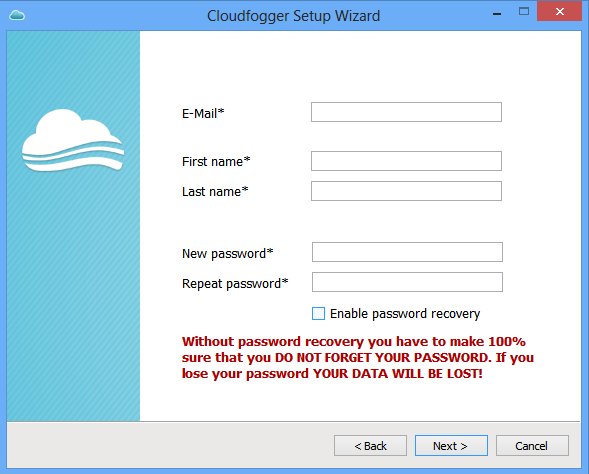
While creating an online account on Cloudfogger, the app asks whether you want the password recovery option turned on. If you check the box, password recovery option will be enabled. Should you ever forget your Cloudfogger password, you will be able to recover the account. On the other hand, if you don’t enable password recovery option, you would not be able to gain access to your Cloudfogger account, and therefore your encrypted files could not be decrypted. As a result, losing the password will cause you losing your encrypted files.
Another similar tool ‘Boxcryptor’ does not offer password recovery option. That requires you to remember or manage your password by yourself.
Like Boxcryptor, Cloudfogger also allows opening local encryption account. It is an offline account which can be used from a single computer only.

You cannot use these offline accounts on mobile devices. File sharing is also not possible from such local accounts. You can only use this type of account to encrypt your files locally.
Starting with Cloudfogger
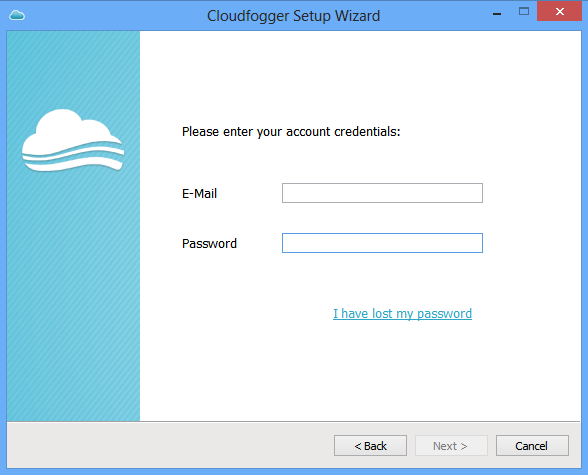
Once the sign-up completed, you can login to your Cloudfogger account.
After the sign in, you will be shown an empty space what should be filled with folder list later. Click on ‘Protect another folder’ button and select any folder from your computer.
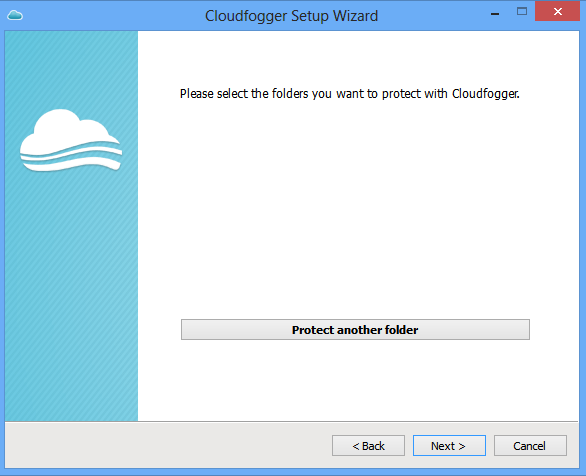
You can select your Dropbox, OneDrive, Google Drive and other cloud services’ home folders so that all of the contents inside them will get encrypted automatically. The app currently allows up to 5 folders to add in its encryption list. The subfolders inside the main listed folders are not counted against this quota.
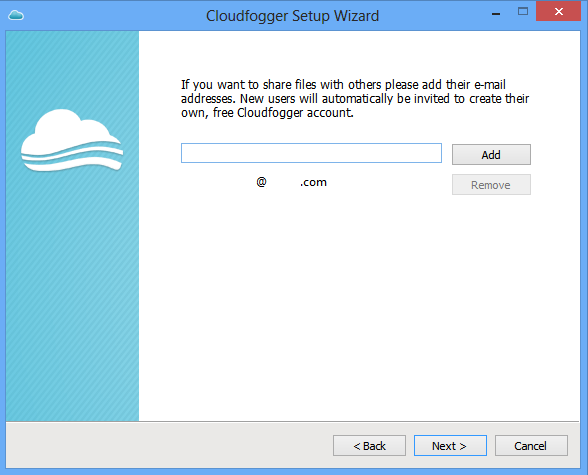
At the next step, Cloudfogger asks whether you want to share files with other people. There is a box to put the receiver email address. If the address is already associated with a Cloudfogger account, then the user will be given file access. If the email is not attached with Cloudfogger, its user will get an invitation to join Cloudfogger and see what’s there. You don’t need to share the decryption key with the other users. Just permit them via their CLoudfogger email address and they will be able to access the shared content. This process is managed by Cloudfogger server side system.
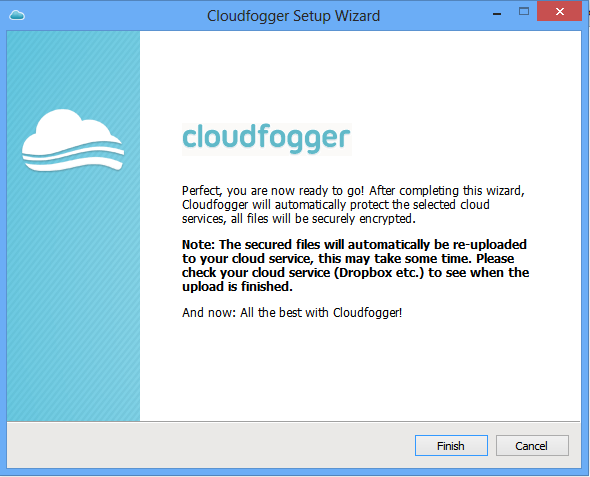
After configuring the sharing option, Cloudfogger is ready to use. There is a note for the user.
Cloudfogger Dashboard
After finishing the above step, a dashboard is shown with encryption status and settings options.
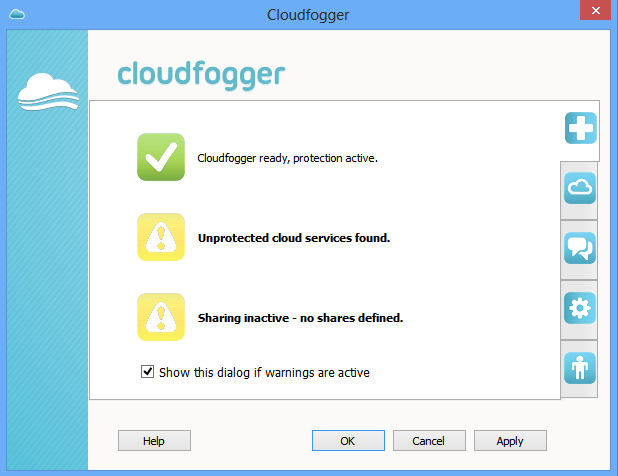
Here you will see warnings and the overview of the app’s function. Click on the option you want to deal with.
The first message is about the Cloudfogger app itself. It tells you whether the service is ready or not. Just under the first message, you can see the status of your file encryption service. If you have defined no folder to be encrypted, then it will show a notification regarding that. The third note is about your shared files. The all three messages appear on this initial window depict an inclusive scenario of your Cloudfogger status.
If you want to add new folders to encrypt their files, first double click the Cloudfogger system tray icon. It will bring the status & settings window. Click the cloud icon at the right side menu list.
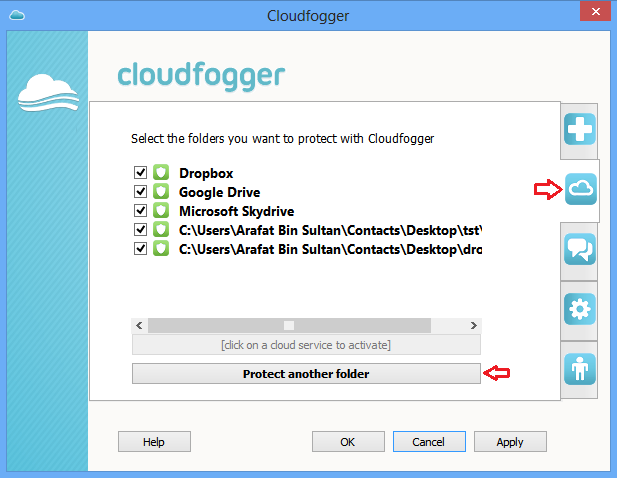
Your current added folders and services will appear as a list. To add a new folder or cloud service, just click ‘Protect another folder’ button on the bottom. Now select any folder you want to add in your encryption list. The folder and its files will be automatically encrypted by Cloudfogger. The third option of the status & settings window lets share files with other users. The sharing procedure is already described above.
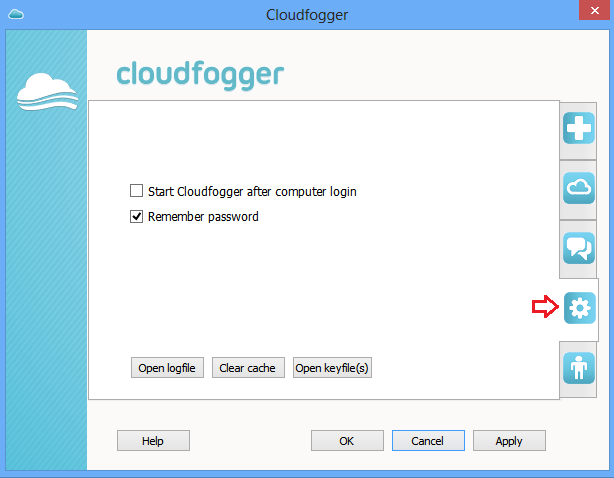
Click the gear icon to find Cloudfogger settings. It provides a few options. From here, you can decide whether the app starts with your computer. It also includes password remembering option, log file path, clearing the cache and opening keyfile.
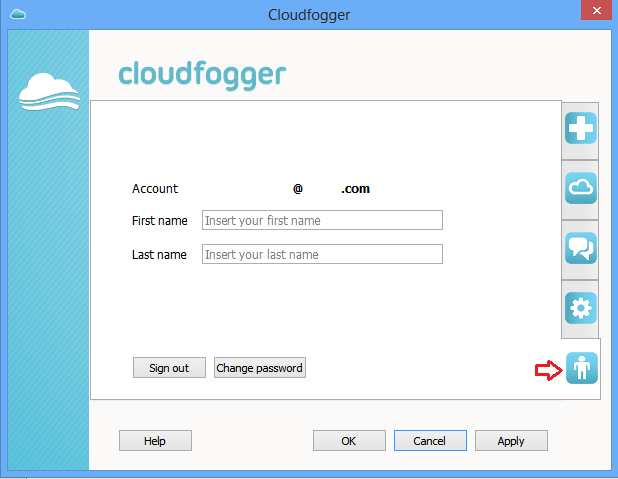
The account settings option comes with profile information (name & password) change.
Encryption and Decryption with Cloudfogger
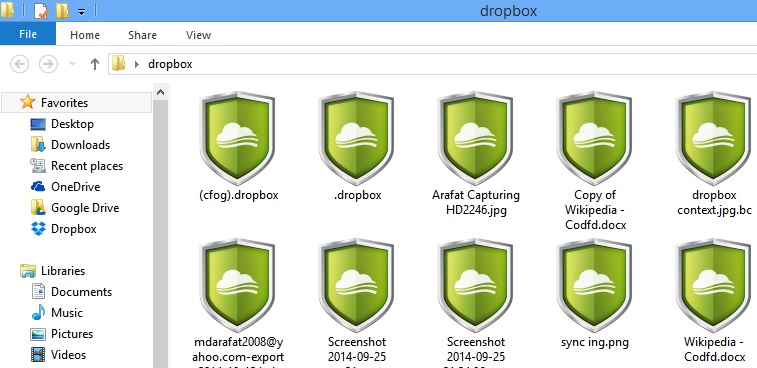
Unlike Boxcryptor, Cloudfogger doesn’t come with its own pre-loaded home folder or virtual drive. Once you add a folder in its encryption list, the folder will be encrypted automatically. The encrypted files will get special Cloudfogger icon (marked in the below screenshot).
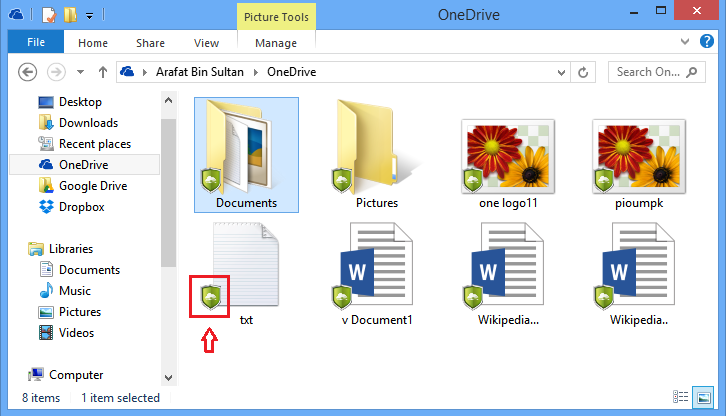
You can access these encrypted files while you’re signed in to Cloudfogger app. If you’re signed out, you will be unable to open them. If the Cloudfogger app is turned off, double clicking any file encrypted with this program will run it and prompt sign in.
When you sign out from Cloudfogger app, the encrypted file icons are also changed.
The files encrypted with Cloudfogger gets ‘.cfog’ file name extension. If you visit your cloud storage’s web version after protecting with Cloudfogger, you will notice this change in your files because the encrypted files are automatically synchronized to the server.

Auto encryption will be applicable only to these folders which you add in Cloudfogger encryption list via ‘Protect another folder’ button from the ‘Status and Settings’ dashboard. When you paste any file/folder inside these auto-encrypt folders, it will be encrypted instantly. Such auto-encrypt folders will have special sign. And yes, the ‘5 folders’ quota is applicable to this.

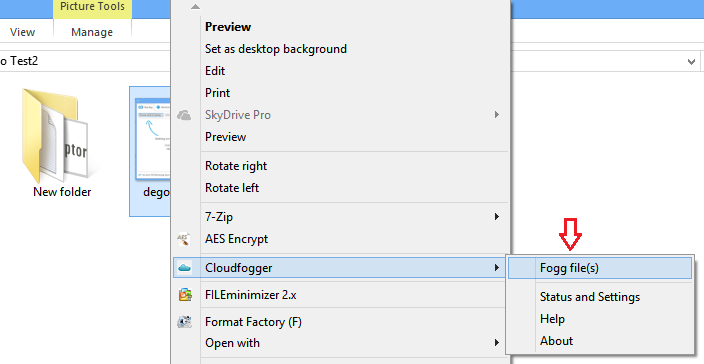
However, you can encrypt unlimited number of files or folders manually. Just right click on any file/folder and select ‘Fog file(s)’ option from Cloudfogger context menu.
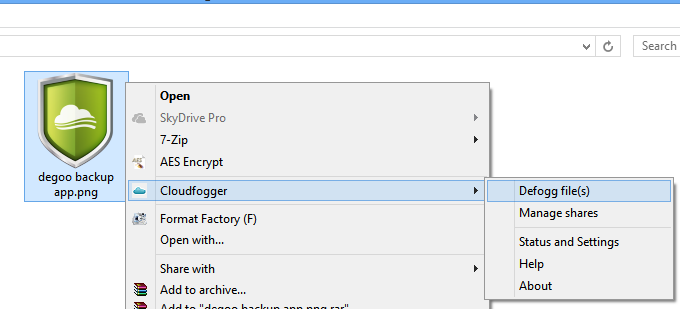
To decrypt a ‘fogged’ (encrypted) file, again right click on the target file and select ‘Defog file(s)’ option from Cloudfogger context menu.
Now that we have explored Cloudfogger Windows client in details. It’s time to point out the pros and cons of the tool.
Pros
- Cloudfogger uses AES 256-bit encryption standard
- It does not store user passwords or encrypted files in its server
- Cloudfogger offers a wide range of services for free
Cons
- Users can add only 5 auto-encryption enabled folders
- There is no 2-factor login authentication for online Cloudfogger account
The Bottom Line
Cloudfogger is a simple but useful encryption tool. To make it more usable, the ‘5 folder quota’ should be fixed. May be paid version(s) could be the probable solution to this issue.
I hope you will find this post useful in your everyday cloud security management. Stay tuned with us for more important tips. Thanks for reading!
Hi, Thanks! Good tutorial! I do have a question: If I signed in and working in fogged folders, those files and folders are unprotected until I sign off? (I mean if somebody in my network look at my files)